Few things are more frustrating than turning on your air conditioner on a hot day only to feel warm or room-temperature air blowing from the vents. An AC not blowing cold air is one of the most common HVAC complaints homeowners face, and the good news is that many causes have simple fixes you can handle yourself. Before you spend hundreds of dollars on a service call, this guide walks you through the eight most common reasons your air conditioner is not cooling and exactly what to do about each one. Some fixes take less than five minutes, while others require a trained technician. We will help you figure out which is which so you can get cool again as quickly as possible.
Quick Fix Checklist
Before diving into detailed troubleshooting, check these items first. They solve the problem more than half the time:
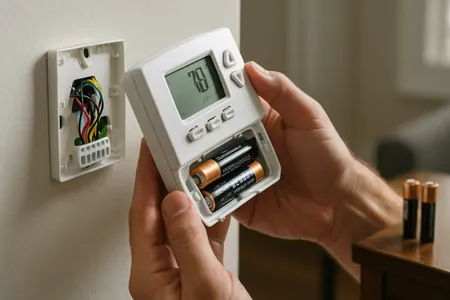
- Check your thermostat settings — Make sure it is set to “Cool” mode and the fan is set to “Auto,” not “On.” Set the temperature at least 5 degrees below the current room temperature.
- Inspect your air filter — A clogged filter is the number one cause of cooling problems. If it looks gray or you cannot see light through it, replace it immediately.
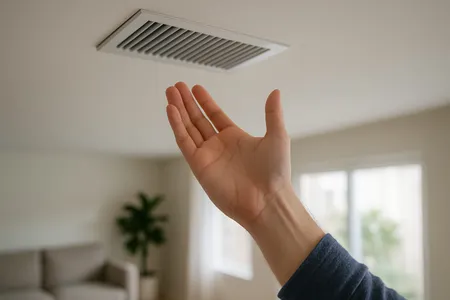
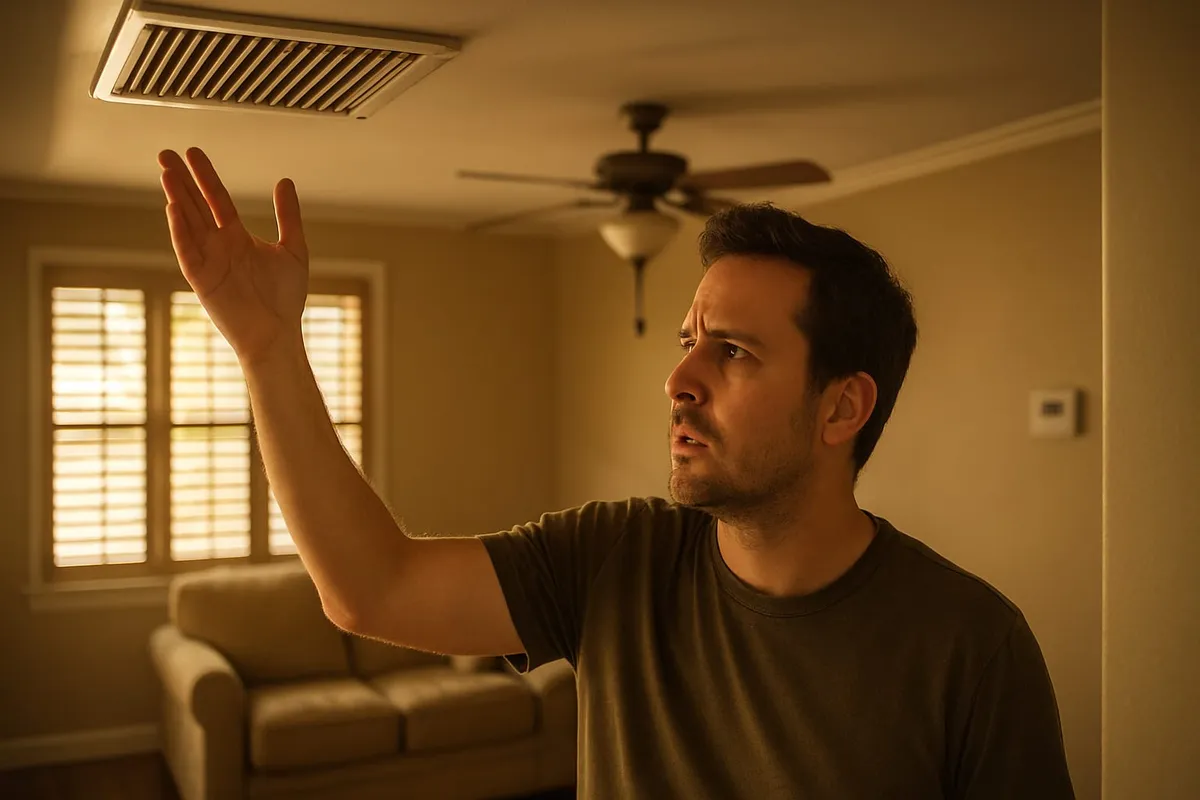
- Make sure all supply vents are open — Walk through your home and confirm that no vents are closed or blocked by furniture, rugs, or curtains.
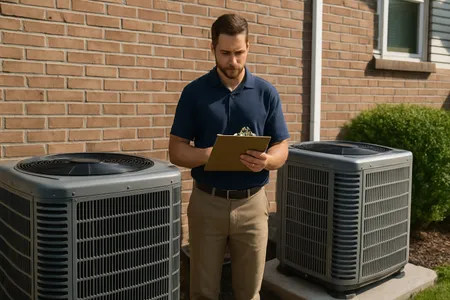
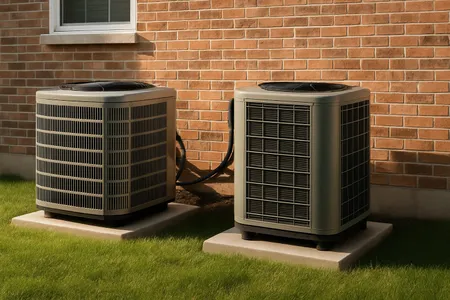
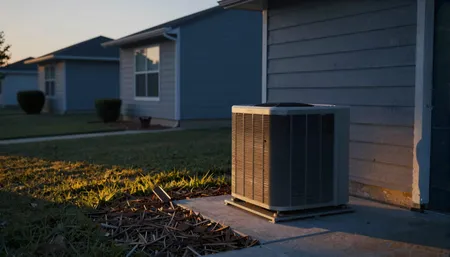
- Check the outdoor unit — Go outside and verify the condenser unit is running. Clear away any debris, leaves, or vegetation within two feet of the unit.
- Verify the circuit breaker — Check your electrical panel for tripped breakers. Your AC system typically has two breakers: one for the indoor air handler and one for the outdoor condenser.
1. Dirty or Clogged Air Filter
What It Is and Why It Happens
Your air filter traps dust, pet dander, pollen, and other airborne particles before they enter your HVAC system. Over time, this filter becomes clogged, restricting airflow over the evaporator coil. When airflow is severely restricted, the evaporator coil cannot absorb enough heat from the air, causing the system to blow lukewarm or room-temperature air instead of cold air. In extreme cases, reduced airflow can cause the coil to freeze, making the problem even worse.
How to Check
Locate your air filter, which is typically found in the return air duct, at the air handler unit, or behind a return vent grille on a wall or ceiling. Slide the filter out and hold it up to a light source. If you cannot see light through the filter or it appears gray and matted with dust, it needs to be replaced.
How to Fix
Replace the filter with a new one of the same size (the dimensions are printed on the filter frame). Standard 1-inch filters should be replaced every 30 to 90 days, depending on factors like pets, allergies, and household size. Thicker 4- or 5-inch media filters typically last 6 to 12 months. After replacing the filter, run the system for 15 to 30 minutes and check if cold air returns.
Estimated cost: $5 to $30 for a replacement filter (DIY fix).
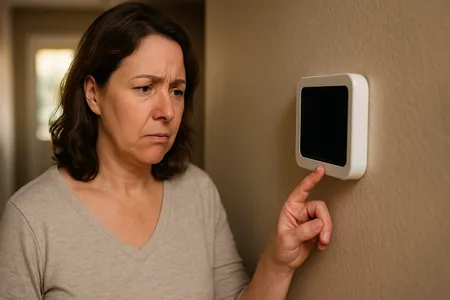
2. Incorrect Thermostat Settings
What It Is and Why It Happens
This may sound obvious, but thermostat issues account for a significant number of HVAC service calls. If the fan setting is switched to “On” instead of “Auto,” the blower will run continuously, even between cooling cycles. During these off-cycles, the air coming from your vents will feel warm or room-temperature because the compressor is not actively cooling. Someone in the household may have also accidentally changed the mode or temperature setting.
How to Check
Look at your thermostat display. Confirm the system is set to “Cool” (not “Heat,” “Off,” or “Fan Only”). Verify the fan setting is “Auto.” Check that the set temperature is at least 5 degrees Fahrenheit below the current room temperature displayed on the thermostat.
How to Fix
Adjust the settings as needed. If you have a programmable or smart thermostat, review the schedule to make sure it has not reverted to a different program. If the thermostat screen is blank, replace the batteries (most use AA or AAA). If the screen remains blank after fresh batteries, check the circuit breaker for the HVAC system. For more thermostat issues, see our thermostat troubleshooting guide.
Estimated cost: Free (DIY fix). Battery replacement costs $2 to $5.
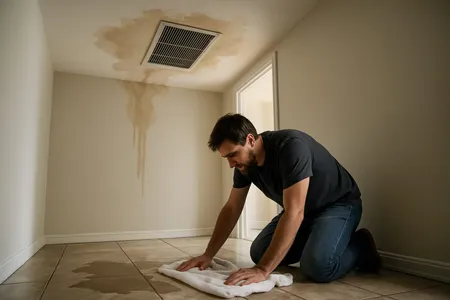
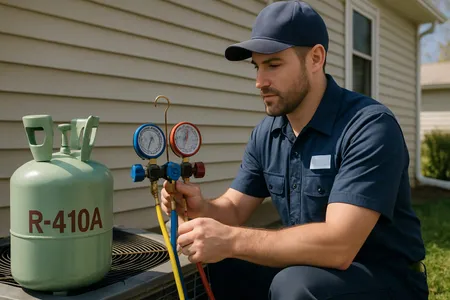
3. Refrigerant Leak
What It Is and Why It Happens
Refrigerant is the chemical compound that absorbs heat from your indoor air and releases it outside. Your AC system is a sealed, closed-loop system, meaning refrigerant does not get “used up.” If levels are low, it means there is a leak somewhere in the system. Common leak points include corroded evaporator coils, damaged copper line sets, loose fittings, and worn service valve cores. Low refrigerant reduces the system’s ability to absorb heat, resulting in warm air from the vents.
How to Check
Look for these signs of a refrigerant leak:
- Ice forming on the refrigerant lines or evaporator coil
- A hissing or bubbling sound near the indoor or outdoor unit
- The system runs constantly but never reaches the set temperature
- Higher-than-normal electricity bills
You cannot check refrigerant levels yourself; this requires specialized gauges and EPA-certified technicians.
How to Fix
Call a professional. Refrigerant handling requires EPA Section 608 certification by law. A technician will locate the leak using electronic leak detectors or UV dye, repair the leak, and recharge the system with the correct amount of refrigerant. Simply adding refrigerant without fixing the leak is a temporary and wasteful solution.
Estimated cost: $150 to $600 for a refrigerant recharge; $200 to $1,500 or more if leak repair or coil replacement is needed.
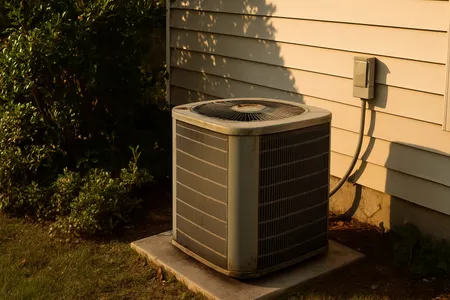
4. Dirty Condenser Coil (Outdoor Unit)
What It Is and Why It Happens
The condenser coil in your outdoor unit releases the heat that was absorbed from inside your home. When this coil is covered with dirt, grass clippings, leaves, or cottonwood fluff, it cannot efficiently release heat. This forces the system to work harder and reduces cooling capacity, sometimes to the point where the air coming from your vents is noticeably warmer.
How to Check
Go outside and inspect the condenser unit. Look through the fins (the thin metal slats on the sides of the unit) for visible buildup of dirt, debris, or vegetation. If you can see a layer of grime coating the fins, the coil needs cleaning.
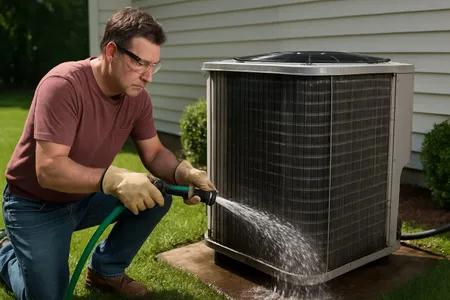
How to Fix
Turn off the system at the thermostat and the outdoor disconnect. Remove any large debris by hand. Using a garden hose (not a pressure washer, which can bend the delicate fins), spray the coil from the inside out to push debris away from the unit. You can also use a commercially available coil cleaner spray for more thorough cleaning. Make sure to maintain at least 24 inches of clearance around all sides of the unit by trimming vegetation.
Estimated cost: Free to $15 for coil cleaner (DIY fix). Professional coil cleaning runs $100 to $300.
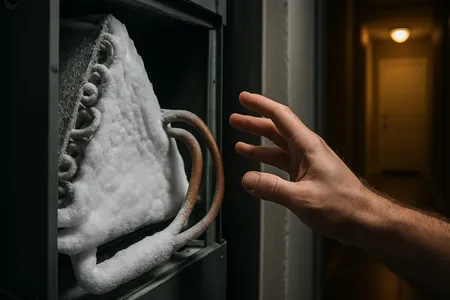
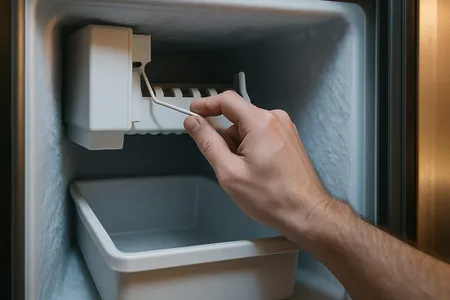
5. Frozen Evaporator Coil
What It Is and Why It Happens
The evaporator coil sits inside your air handler and is where refrigerant absorbs heat from the air. When something disrupts the balance of airflow or refrigerant pressure, the coil temperature can drop below freezing and ice begins to form. Common causes include dirty air filters, blocked vents, low refrigerant, a malfunctioning blower fan, or running the AC when outdoor temperatures are below 60 degrees Fahrenheit. A frozen coil acts as an insulator, preventing the system from cooling your air. For a deeper dive, see our complete guide to AC freezing up.
How to Check
Open the access panel on your air handler (after turning off the system) and look at the evaporator coil. If you see ice or frost on the coil, refrigerant lines, or the outside of the line set running to your outdoor unit, the coil is frozen.
How to Fix
- Turn off the AC at the thermostat immediately.
- Set the fan to “On” to circulate warm air over the coil and speed up thawing.
- Place towels or a shallow pan around the air handler to catch meltwater.
- Allow the system to thaw completely, which can take 2 to 24 hours depending on severity.
- Replace the air filter if it is dirty.
- Once thawed, turn the system back to “Cool” and monitor it.
If the coil freezes again, the problem is likely low refrigerant or a mechanical issue, and you should call a professional.
Estimated cost: Free if caused by a dirty filter (DIY fix). Professional diagnosis and repair costs $150 to $700 depending on the root cause.
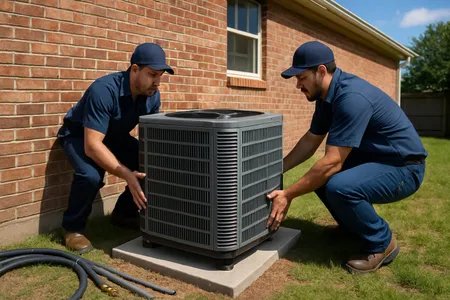
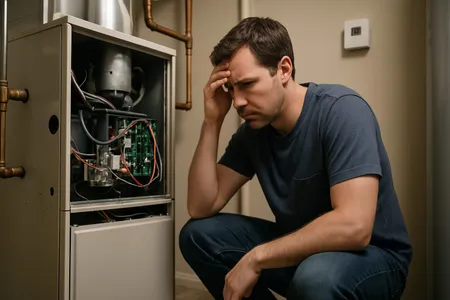
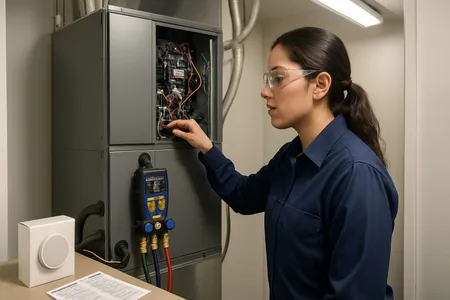
6. Faulty or Failing Compressor
What It Is and Why It Happens
The compressor is the heart of your air conditioning system. Located in the outdoor unit, it pressurizes the refrigerant and circulates it between the indoor and outdoor coils. A failing compressor may not compress the refrigerant efficiently, leading to reduced cooling or no cooling at all. Compressor problems can result from electrical issues, low refrigerant (which causes the compressor to overheat), or simply age and wear over time.
How to Check
Go to your outdoor unit while the system is set to cool. If the outdoor fan is running but you do not hear or feel the compressor humming or vibrating, the compressor may not be operating. Other signs include the outdoor unit tripping its circuit breaker repeatedly, a loud clicking sound at startup followed by the unit shutting off, or the system blowing warm air despite everything else appearing normal.
How to Fix
Call a professional. Compressor diagnosis and repair involves working with high-voltage electrical components and pressurized refrigerant. A technician will check electrical connections, capacitors, and the compressor itself. If the compressor has failed, replacement is the typical solution. Given the high cost of compressor replacement, your technician may recommend comparing the repair cost against the cost of a new outdoor unit or complete system, especially if your AC is more than 10 years old. Use our repair or replace calculator to help make this decision.
Estimated cost: $800 to $2,800 for compressor replacement, depending on the unit size and brand. If the compressor is under manufacturer warranty, labor and refrigerant typically cost $600 to $1,200.
7. Leaky or Disconnected Ductwork
What It Is and Why It Happens
Your ductwork carries conditioned air from the air handler to every room in your home. Over time, duct joints can separate, tape can deteriorate, and seams can develop gaps. When ducts run through unconditioned spaces such as attics, crawl spaces, or garages, leaks allow cooled air to escape before it ever reaches your living spaces. The Department of Energy estimates that the average home loses 20 to 30 percent of conditioned air through duct leaks.
How to Check
While the system is running, go to accessible sections of your ductwork in the attic, basement, or crawl space. Hold a stick of incense or a thin piece of tissue near duct joints and connections. If the smoke or tissue moves erratically, you have found a leak. Also feel for cool air escaping from joints or seams.
How to Fix
Small leaks at accessible joints can be sealed with mastic sealant or metal-backed (UL-listed) HVAC tape. Do not use standard duct tape, as it deteriorates quickly in the heat of an attic. For larger leaks, disconnected sections, or ducts in hard-to-reach areas, call a professional for duct sealing or repair.
Estimated cost: $10 to $30 for mastic sealant (DIY fix). Professional duct sealing costs $300 to $1,000 depending on the extent of the leaks and accessibility.
8. Electrical or Capacitor Problems
What It Is and Why It Happens
Your air conditioning system relies on several electrical components to operate. The start capacitor gives the compressor and fan motors the electrical jolt they need to start up, while the run capacitor keeps them running smoothly. Capacitors degrade over time and are especially prone to failure during heat waves when the system runs heavily. A failed capacitor can prevent the compressor or fan motor from starting, meaning the system blows air but does not cool it.
How to Check
Listen for a humming sound from the outdoor unit that is not followed by the compressor starting. You may also hear clicking sounds. If the outdoor fan is struggling to start or is not spinning at all, a capacitor is likely the cause. A burning or acrid smell from the outdoor unit may indicate a burned-out capacitor.
Safety Warning: Capacitors store electrical energy even when the power is off and can deliver a dangerous or fatal shock. Never attempt to test or replace a capacitor yourself unless you have proper training and tools.
How to Fix
Call a professional. A technician can safely discharge and test capacitors with a multimeter and replace them if needed. Capacitor replacement is one of the most common and affordable AC repairs.
Estimated cost: $150 to $400 for capacitor replacement including parts and labor.
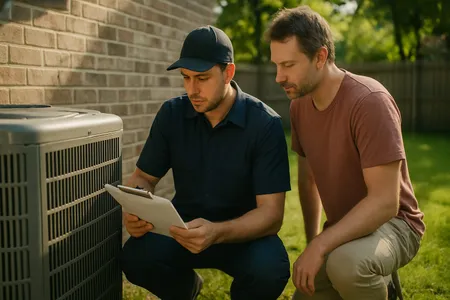
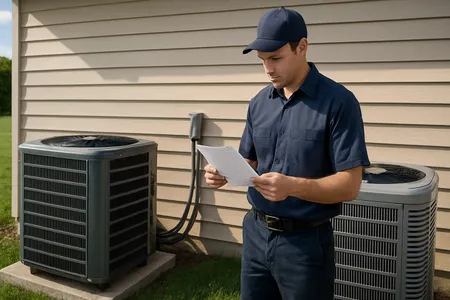
When to Call a Professional
While many AC issues have simple DIY fixes, some situations require immediate professional attention. Call an HVAC technician if:
- The system trips the circuit breaker repeatedly — This indicates a serious electrical issue that could be a fire hazard.
- You hear grinding, screeching, or banging noises — These sounds suggest a failing motor, loose component, or compressor issue.
- You smell burning or electrical odors — Turn off the system immediately and call for service.
- Ice has formed on the refrigerant lines or coil and returns after thawing — This points to a refrigerant leak or mechanical failure.
- The system is more than 15 years old and repairs are frequent — It may be more cost-effective to replace the unit. Our repair or replace tool can help you decide.
- You suspect a refrigerant leak — Refrigerant handling requires EPA certification by law.
For emergency situations, do not wait. Learn more about our emergency HVAC repair services or use our online troubleshooter for guided help.
Prevention Tips
Regular maintenance is the best way to avoid an AC that stops blowing cold air. Follow these tips to keep your system running efficiently:
- Replace your air filter regularly — Every 30 to 90 days for standard 1-inch filters, or per the manufacturer’s recommendation. This single step prevents the majority of cooling problems.
- Schedule annual professional maintenance — A pre-season tune-up includes coil cleaning, refrigerant level checks, electrical testing, and more. Learn about our maintenance plans.
- Keep the outdoor unit clear — Maintain at least 24 inches of clearance around the condenser unit. Trim vegetation and remove debris regularly.
- Do not close too many vents — Closing more than 20 percent of your supply vents can restrict airflow enough to cause problems. Keep vents open and unobstructed.
- Install a programmable or smart thermostat — These devices optimize cooling cycles and can alert you to problems before they become serious.
Frequently Asked Questions
Why is my AC running but not cooling the house?
The most common reason an AC runs but does not cool is a dirty air filter restricting airflow over the evaporator coil. Other frequent causes include incorrect thermostat settings (fan set to “On” instead of “Auto”), low refrigerant from a leak, a dirty condenser coil, or a frozen evaporator coil. Start by checking and replacing your air filter, then verify your thermostat settings.
How long should it take for AC to start blowing cold air?
After you turn your AC on, you should feel noticeably cold air from the vents within 15 to 20 minutes. The air should be 15 to 20 degrees Fahrenheit cooler than the room temperature air being pulled into the return vent. If the air is not cold after 30 minutes, something is wrong and you should begin troubleshooting.
Can a dirty filter cause AC to stop cooling?
Yes, absolutely. A clogged air filter is the single most common cause of AC cooling problems. When the filter is blocked, air cannot flow properly over the evaporator coil, which prevents the system from absorbing heat. This can also cause the evaporator coil to freeze, making the situation even worse. Replacing a dirty filter often restores normal cooling within 15 to 30 minutes.
How much does it cost to fix an AC not blowing cold air?
The cost depends entirely on the cause. A dirty air filter is a $5 to $30 DIY fix. A refrigerant recharge costs $150 to $600. Capacitor replacement runs $150 to $400. A compressor replacement is $800 to $2,800. The average AC repair costs between $150 and $650. A professional diagnostic visit typically costs $75 to $150.
Should I turn off my AC if it is not blowing cold air?
If your AC is running but blowing warm air, you can leave it running briefly while you troubleshoot (check the filter and thermostat). However, if you notice ice on the unit, strange noises, or burning smells, turn it off immediately to prevent further damage. Running a system with a frozen coil can damage the compressor, which is the most expensive component to replace.
Dealing with an AC that will not cool can be stressful, especially during the hottest months of the year. If you have worked through this guide and your system is still not blowing cold air, it is time to call in a professional.
If you are in Central Texas, Texas Temp Masters offers same-day air conditioning repair service. Call (817) 704-0706 or contact us online to schedule your appointment today.
Next Steps
Now that you know what to check, here are a few resources to help you take action:
- Estimate refrigerant costs — If you suspect a leak, use our Refrigerant Cost Estimator to see what a recharge might run.
- Find the right filter — Not sure what size filter your system takes? Our Filter Size Finder looks it up for you.
- Frozen coil? — If ice is forming on your unit, read our full guide on why your AC is freezing up and how to fix it.
- Budget for the repair — See average prices for every common fix in our AC repair cost breakdown.
- Prevent it next year — Our spring AC prep checklist walks you through seasonal maintenance that keeps breakdowns from happening.
- Ready to talk? — Contact us for a free evaluation.