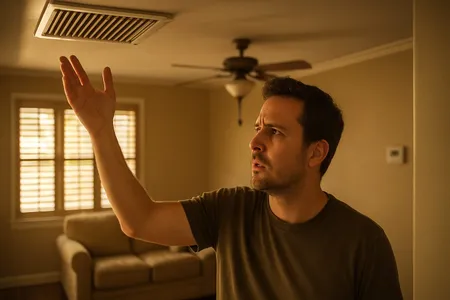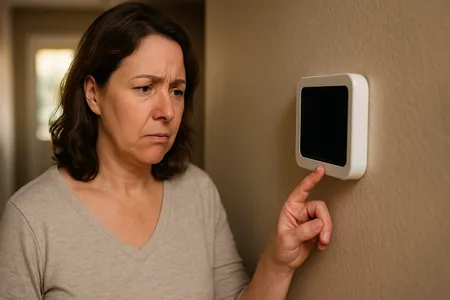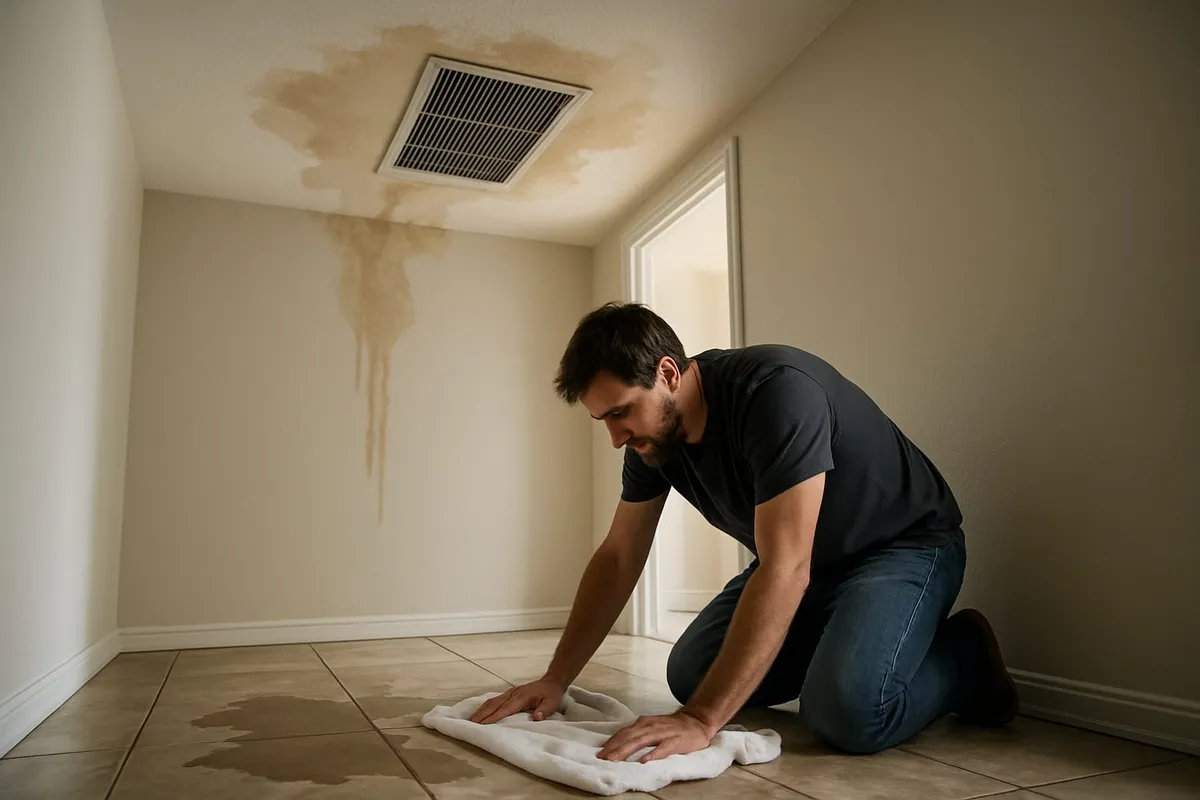
Finding a puddle of water around your indoor AC unit or water dripping from your ceiling near the air handler is alarming — and for good reason. An air conditioner leaking water inside your home can cause significant damage to walls, ceilings, floors, and furniture if not addressed promptly. Water damage can also lead to mold growth within 24 to 48 hours in the right conditions. The good news is that most AC water leaks have identifiable causes, and some can be fixed with simple DIY steps. This guide explains why your AC is leaking water, what to do immediately to prevent damage, and how to fix or prevent each cause. Act quickly — the longer water sits, the more expensive the damage becomes.
Quick Fix Checklist
If your AC is actively leaking water inside, take these steps immediately:
- Turn off the AC — Switch the thermostat to “Off” to stop condensation from forming and stop the flow of water. This is the single most important first step to prevent further damage.
- Protect your belongings — Move furniture, electronics, and valuables away from the leak area. Place towels, buckets, or shallow pans to catch dripping water.
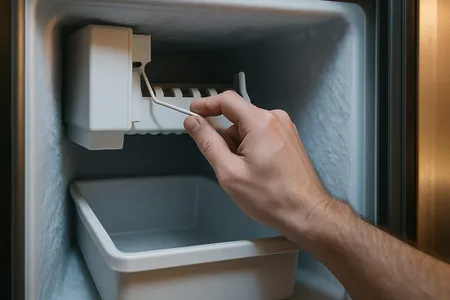
- Check the air filter — A clogged filter can cause ice to form on the evaporator coil. When the ice melts, it can overwhelm the drain pan and cause leaking. Replace the filter if it is dirty.
- Check the drain line outlet — Go outside and locate the PVC drain line that exits your home near the outdoor unit. If water is not dripping from it while the AC runs, the line is likely clogged.
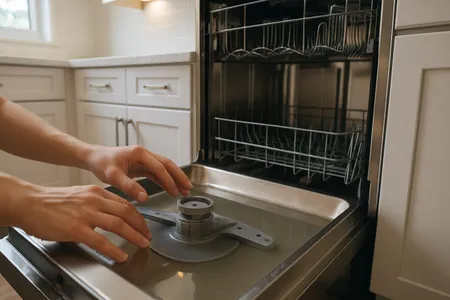
- Check the drain pan — If accessible, look at the drain pan underneath the evaporator coil. If it is full of water or visibly cracked, you have found the problem.
1. Clogged Condensate Drain Line
What It Is and Why It Happens
This is the most common cause of an AC leaking water inside your home. Your air conditioner removes humidity from the air as part of the cooling process. This moisture condenses on the cold evaporator coil and drips into a drain pan below the coil, then flows through a condensate drain line (usually a 3/4-inch PVC pipe) to the outside of your home or to a floor drain. Over time, algae, mold, dust, dirt, and debris accumulate inside the drain line, eventually creating a blockage. When the line is clogged, water backs up in the drain pan and overflows onto the floor, into the ceiling, or down the walls.
A typical residential AC system can produce 5 to 20 gallons of condensate per day in humid conditions, so a clogged drain line can cause significant water damage quickly.
How to Check
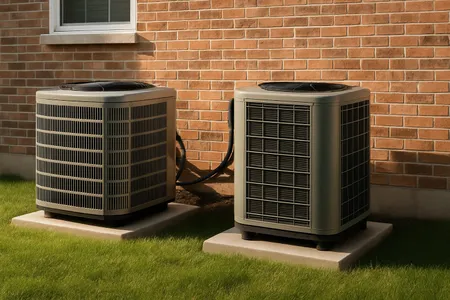
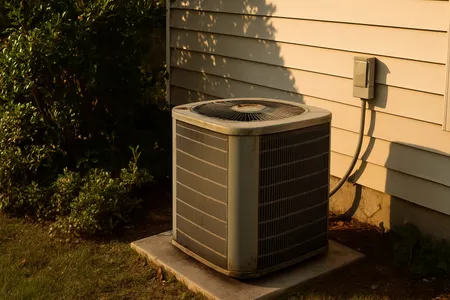
Go outside and locate the end of the condensate drain line (a small PVC pipe usually near the outdoor unit or exiting through a wall near the air handler). While the AC is running, water should be steadily dripping from this line. If no water is coming out, the line is clogged. Also check the drain pan — if it is full of standing water, the drain is not flowing.
How to Fix
Method 1: Vinegar flush
- Locate the drain line access point (a T-shaped PVC fitting with a removable cap, usually near the air handler).
- Remove the cap.
- Pour 1 cup of distilled white vinegar into the opening. Let it sit for 30 minutes. The vinegar helps dissolve algae and mold.
- Flush with warm water.
- Check the exterior drain line outlet to confirm water is flowing freely.
Method 2: Wet/dry vacuum
- Go to the exterior end of the drain line.
- Attach a wet/dry vacuum to the end of the pipe (you can use a rubber coupling or wrap a rag around the connection for a tighter seal).
- Run the vacuum for 2 to 3 minutes. This creates suction that can pull the clog out.
- Check the vacuum canister for debris (algae, sludge, or dirt confirms you have cleared the clog).
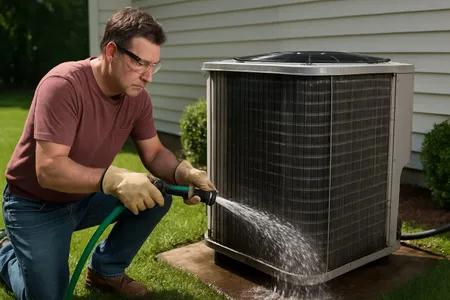
Method 3: Compressed air or drain brush For stubborn clogs, use a condensate drain brush (a long, thin, flexible brush designed for this purpose) or compressed air to push through the blockage. Be careful with compressed air — use moderate pressure to avoid blowing apart PVC joints.
Estimated cost: Free to $15 for vinegar (DIY fix). Professional drain line clearing costs $75 to $250.
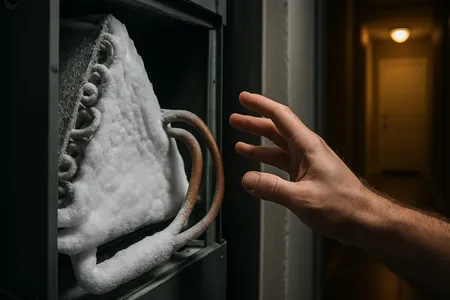
2. Dirty Air Filter Causing Frozen Coil
What It Is and Why It Happens
A dirty air filter restricts airflow across the evaporator coil, causing the coil temperature to drop below freezing. Ice forms on the coil, and as it builds up, it can extend beyond the drain pan. When the ice eventually melts — either when the system cycles off or when the buildup is too heavy — the volume of water can overwhelm the drain pan’s capacity, causing water to overflow and leak inside your home. This is especially problematic because the water from melting ice can come in a large volume all at once, unlike the gradual drip of normal condensation.
For a detailed guide on frozen evaporator coils, see our AC freezing up troubleshooting guide.
How to Check
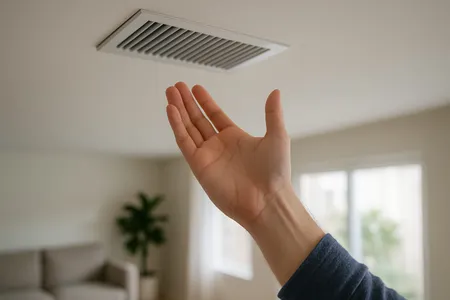
Open the air handler access panel (with the system turned off) and inspect the evaporator coil. If you see ice or frost on the coil or the refrigerant lines, the coil is freezing. Check the air filter — if it is dirty, clogged, or has not been changed in more than 90 days, this is likely the cause.
How to Fix
- Turn off the AC.
- Replace the dirty air filter with a new one.
- Set the fan to “On” (without cooling) to blow warm air over the coil and accelerate thawing.
- Place towels and a shallow pan around the air handler to catch meltwater.
- Allow the coil to thaw completely (1 to 24 hours depending on ice severity).
- Check the drain pan and drain line. Water from the melting ice should flow through the drain. If the drain line is also clogged, clear it using the methods in the section above.
- Turn the cooling back on and monitor for leaks.
If the coil freezes again after thawing with a clean filter, the issue may be low refrigerant, a failing blower motor, or another mechanical problem. Call a professional.
Estimated cost: $5 to $30 for a new filter (DIY fix). Professional diagnosis of recurring freeze-ups costs $150 to $700.
3. Cracked or Rusted Drain Pan
What It Is and Why It Happens
The drain pan sits directly beneath the evaporator coil and catches condensation as it drips off the coil. Most air handlers have two drain pans: a primary pan (built into the air handler) and a secondary or auxiliary pan (a separate pan underneath the entire unit, often with its own drain line). Over time, especially in humid environments, the primary drain pan can develop rust holes, cracks, or corrosion. When the pan can no longer hold water, it leaks directly below the air handler. Metal drain pans in older units (15+ years) are particularly susceptible to rust-through.
How to Check
Turn off the AC and remove the air handler access panel. Inspect the primary drain pan for visible cracks, rust spots, or holes. Pour a small amount of water into the pan and watch for drips underneath. If you have a secondary drain pan (a separate pan under the air handler), check it as well — if it has water in it, the primary pan or drain is failing.
How to Fix
For small cracks or pinholes (temporary fix): Clean the damaged area thoroughly and apply waterproof epoxy or HVAC-rated sealant. This is a temporary repair that may last a season but should not be considered a permanent solution.
For significant damage or rust-through: The drain pan needs to be replaced. Primary drain pans that are integrated into the air handler may require professional installation, as they involve removing the evaporator coil.
For secondary drain pan replacement: This is usually a simpler job — the pan sits under the unit and can often be slid out and replaced. Replacement pans cost $20 to $60 depending on size.
Estimated cost: $5 to $15 for epoxy sealant (temporary DIY fix). Professional drain pan replacement costs $200 to $600 for the primary pan. Secondary pan replacement costs $20 to $60 (DIY) or $100 to $200 (professional).
4. Disconnected or Damaged Drain Line
What It Is and Why It Happens
The PVC condensate drain line connects to the drain pan and carries water to the exterior of the home or a floor drain. Over time, PVC joints can loosen, separate, or crack due to vibration from the air handler, physical impact, or UV exposure on outdoor sections. When a joint separates or the pipe cracks, water leaks at the point of damage instead of flowing to the intended drainage point. This often causes water damage in areas that are not immediately visible, such as inside walls, above ceilings, or in utility closets.
How to Check
Trace the drain line from the drain pan to where it exits the building. Look for wet spots, dripping, or visible separation at joints. Feel along the pipe for moisture. If part of the line runs through a wall or ceiling, look for water stains on the drywall below the pipe’s path.
How to Fix
For loose PVC joints, apply PVC primer and cement to reseal the connection. For cracked or damaged sections, cut out the damaged portion and replace it with new PVC pipe and fittings of the same diameter (typically 3/4 inch). This is a straightforward repair for anyone familiar with basic PVC plumbing.
If the drain line is routed through walls or ceilings and the damaged section is not accessible, call a professional who can locate and repair the problem area.
Estimated cost: $5 to $20 for PVC pipe and cement (DIY fix). Professional repair costs $75 to $250.
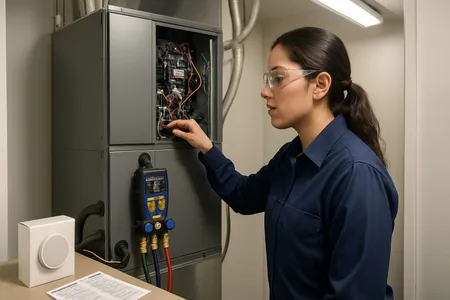
5. Condensate Pump Failure
What It Is and Why It Happens
Not all AC systems rely on gravity to drain condensate. When the air handler is installed in a basement, a ground-floor closet, or any location where the drain line cannot flow downhill to the outside, a condensate pump is used to pump the water upward to a drain point. The pump sits in a small reservoir that collects water from the drain pan. When the reservoir fills, a float switch activates the pump, which pushes water through a small discharge tube. If the pump motor fails, the float switch malfunctions, or the discharge tube is clogged or disconnected, water accumulates in the reservoir and eventually overflows.
How to Check
Locate the condensate pump (a small box or container near the base of the air handler). Check if the reservoir is full of water. If it is, the pump is not working. Listen for the pump motor — it should turn on automatically when the reservoir fills. If the reservoir is full and the pump does not activate, the pump has likely failed or the float switch is stuck.
How to Fix
First, check the power connection — the pump must be plugged into a working outlet. Check that the discharge tube is not clogged or kinked. Clean the pump reservoir and float switch of algae and debris (these are common causes of float switch failure).
If the pump motor has failed, replace the condensate pump. Replacement pumps cost $30 to $80 and are available at hardware stores. Installation involves placing the new pump, connecting the drain line from the air handler to the pump intake, and routing the discharge tube to the drain point.
Estimated cost: $30 to $80 for a replacement pump (DIY). Professional pump replacement costs $150 to $350.
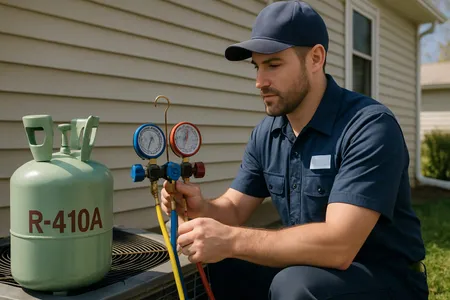
6. Low Refrigerant Causing Excessive Ice and Melting
What It Is and Why It Happens
Low refrigerant levels (from a leak in the system) cause the evaporator coil pressure to drop, which makes the coil temperature fall below freezing. Heavy ice builds up on the coil, and when the system cycles off or the ice becomes too heavy, it melts in large quantities. This volume of water can exceed what the drain pan and drain line can handle, causing overflow and indoor water leaks. Low refrigerant also means the system runs longer (trying to reach the set temperature), which produces more condensation than normal during the periods when the coil is not frozen.
How to Check
Look for signs of low refrigerant:
- Ice on the evaporator coil, refrigerant lines, or the outdoor unit
- The AC runs constantly but does not cool adequately
- Hissing or bubbling sounds near the refrigerant lines
- The system cycles between freezing and flooding
How to Fix
Call a professional. Refrigerant issues require an EPA-certified technician who can test refrigerant levels, locate and repair leaks, and recharge the system. Do not simply add refrigerant without repairing the leak — the problem will return.
Estimated cost: $150 to $600 for refrigerant recharge. Leak detection and repair costs $200 to $1,500 depending on the location and severity of the leak.
7. Improper Installation or Sizing
What It Is and Why It Happens
If the air handler or the drain line was not installed correctly, water leaks can be a persistent problem from day one or develop over time. Common installation issues include:
- Air handler not level: If the unit is tilted away from the drain line, water pools on the wrong side of the drain pan and overflows instead of flowing toward the drain.
- Undersized drain line: A drain line that is too small for the system’s condensate production cannot handle the volume during peak humidity.
- Missing P-trap or vent: The condensate drain line may need a P-trap (a U-shaped bend) to prevent air from being pulled back through the line, which can create a vacuum that stops water flow.
- Oversized AC system: An oversized system cools the air quickly and shuts off before adequately dehumidifying, causing excessive moisture and condensation during short, frequent cycles.
How to Check
Use a level to check if the air handler is properly positioned. Inspect the drain line for a P-trap (it should have one in most installations). Check the drain line size — standard residential systems use 3/4-inch drain lines, but some larger systems require 1-inch lines. If the system was recently installed and has always had water issues, installation may be the root cause.
How to Fix
Installation corrections typically require a professional. Releveling an air handler, installing or correcting a P-trap, or upgrading the drain line are all tasks that should be performed by a licensed HVAC technician to ensure proper operation and code compliance.
Estimated cost: Professional installation corrections cost $150 to $500 depending on the work needed.
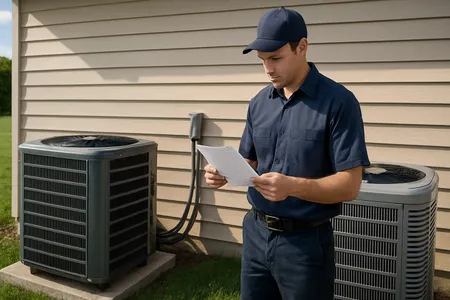
When to Call a Professional
Contact an HVAC technician immediately if:
- Water is leaking through the ceiling — This means the drain pan has overflowed and water is causing active damage. Turn off the system immediately.
- You see mold growth around the air handler or in the drain pan — Mold requires professional remediation and indicates a chronic moisture issue.
- The drain line clogs repeatedly despite cleaning — The drain line may need replacement, rerouting, or the addition of an algae prevention system (UV light or condensate treatment tablets).
- The leak persists after clearing the drain and replacing the filter — There may be a refrigerant issue, a cracked drain pan, or an installation problem.
- Water damage has occurred to walls, ceilings, or floors — Document the damage for insurance purposes and call for both HVAC repair and water damage remediation.
For urgent AC issues, visit our emergency HVAC repair page or contact us directly.
Prevention Tips
Prevent AC water leaks inside your home with these maintenance steps:
- Change the air filter every 30 to 90 days — A clean filter prevents frozen coils, one of the leading causes of AC water leaks.
- Pour vinegar down the drain line every 3 months — One cup of distilled white vinegar kills algae and prevents buildup that leads to clogs. This is the single most effective leak prevention step.
- Schedule annual AC maintenance — A technician will inspect the drain pan, clear the drain line, check refrigerant levels, and verify proper operation. See our maintenance plans.
- Install a condensate drain safety switch — This device (also called a float switch or wet switch) automatically shuts off the AC if the drain pan fills with water, preventing overflow and water damage. Cost: $20 to $50 for the switch, or $80 to $150 installed professionally.
- Inspect the drain pan annually — Check for rust, cracks, or corrosion, especially if the air handler is more than 10 years old.
Frequently Asked Questions
Why is my AC dripping water inside the house?
The most common reason is a clogged condensate drain line. Algae, mold, and dirt accumulate in the line over time, blocking water from draining to the outside. When the line is clogged, water backs up into the drain pan and overflows into your home. Other causes include a dirty air filter causing a frozen coil (which produces excess water when it melts), a cracked drain pan, a disconnected drain line, or a failed condensate pump.
Is water leaking from the AC unit dangerous?
Water leaking from an AC unit is not immediately dangerous in the way a gas leak would be, but it can cause serious and expensive secondary damage. Standing water leads to mold growth within 24 to 48 hours, which poses health risks. Water damage to ceilings, walls, and floors can cost thousands of dollars to repair. Additionally, water near electrical components creates a shock hazard. Turn off the AC and address the leak as soon as possible.
How do I unclog my AC drain line?
The easiest method is to pour 1 cup of distilled white vinegar into the drain line access point (the T-shaped fitting near the air handler) and let it sit for 30 minutes, then flush with warm water. For tougher clogs, use a wet/dry vacuum attached to the exterior end of the drain line to suction out the blockage. You can also use a condensate drain brush or moderate compressed air. If these methods do not work, a professional can use pressurized nitrogen or specialized tools to clear the line.
How much water should come out of the AC drain line?
On a humid day, a residential AC system can produce 5 to 20 gallons of condensate water per day. You should see a steady drip or slow stream of water from the exterior drain line while the AC is running. If you see no water coming out, the drain line may be clogged. If you see an unusually large volume of water, the system may have a frozen coil that is melting.
How much does it cost to fix an AC leaking water inside?
Costs depend on the cause. Clearing a clogged drain line is free to $15 (DIY with vinegar) or $75 to $250 for professional clearing. Replacing a dirty air filter costs $5 to $30. Drain pan replacement costs $200 to $600. Condensate pump replacement costs $30 to $80 (DIY) or $150 to $350 (professional). Refrigerant leak repair costs $200 to $1,500. The average AC repair costs between $150 and $650.
An AC leaking water inside is a problem that demands prompt attention. The water itself is usually clean condensation, but the damage it causes to your home can be extensive and expensive. Start by turning off the system, then work through this guide to identify and fix the cause.
If you are in Central Texas, Texas Temp Masters offers same-day air conditioning repair including drain line clearing and leak diagnosis. Call (817) 704-0706 or contact us online to stop the leak today.
Next Steps
Now that you have stopped the leak and identified the cause, keep your system running smoothly:
- Narrow down the problem — Use our free HVAC Troubleshooter to walk through a step-by-step diagnostic and confirm whether it is a drain, filter, or refrigerant issue.
- Stay ahead of future leaks — Our Maintenance Checklist gives you a personalized seasonal schedule so clogs and drain pan problems do not catch you off guard again.
- Check refrigerant recharge costs — If low refrigerant caused the ice and flooding, our Refrigerant Cost Calculator shows what a recharge will cost for your specific system.
- Ice causing the leak? — Frozen coils are one of the top reasons for indoor water damage. Read our full guide on AC Unit Freezing Up to prevent it from happening again.
- Ready for professional repair? — Contact us for same-day service with upfront pricing on drain line clearing, coil cleaning, and leak diagnosis.