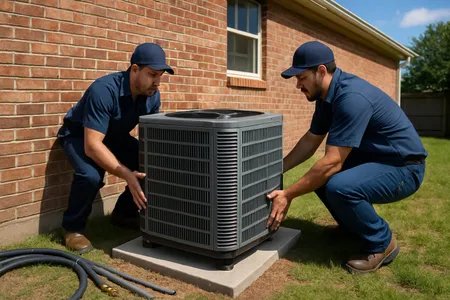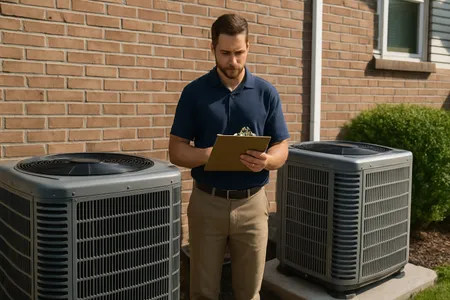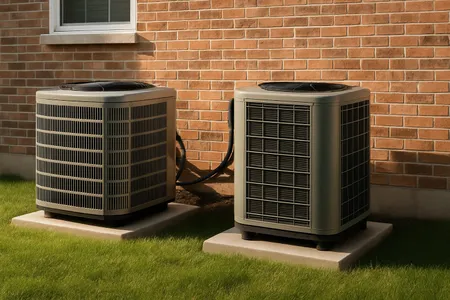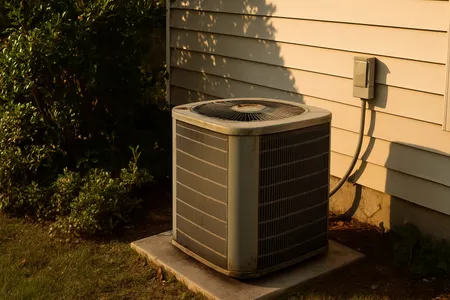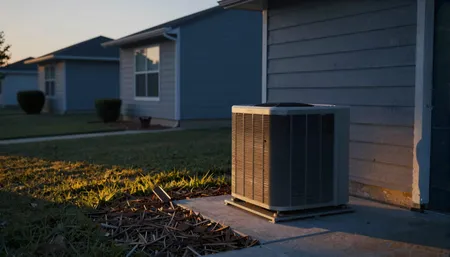
Your AC condenser unit sits outside your home, exposed to dirt, leaves, grass clippings, pollen, and weather year-round. Over time, debris accumulates on the condenser coils and restricts airflow, forcing your system to work harder, use more energy, and wear out faster. Cleaning your condenser is one of the most effective DIY maintenance tasks you can do, and it can reduce cooling costs by 5 to 15 percent.
What You Will Need
- Garden hose with spray nozzle
- Coil cleaner (commercial foaming coil cleaner or a solution of mild dish soap and water)
- Fin comb (optional, for straightening bent fins)
- Screwdriver or nut driver (for removing the protective cage)
- Work gloves
- Safety glasses
- Soft brush or shop vacuum with brush attachment
- Spray bottle (if using homemade cleaner)
Time estimate: 30 to 60 minutes Difficulty level: Easy to moderate
Step 1: Turn Off Power to the Unit
This is a critical safety step. You must disconnect power to the condenser unit before working on it.
- At the outdoor disconnect box: Locate the disconnect box mounted on the wall near the condenser unit. Open it and flip the switch or pull the disconnect block to the OFF position.
- At the circuit breaker: For extra safety, also turn off the AC circuit at your electrical panel inside the home.
- At the thermostat: Turn the system off at the thermostat as well.
Warning: Never work on the condenser unit with power connected. The fan and compressor can start automatically when the thermostat calls for cooling, which creates a risk of serious injury.
Step 2: Clear Debris Around the Unit
Remove all leaves, grass clippings, weeds, and other debris from around and on top of the condenser unit. Maintain at least two feet of clearance on all sides and five feet of clearance above the unit for proper airflow.
Trim back any shrubs, bushes, or plants that have grown too close. While landscaping can hide the unit, vegetation too close restricts airflow and provides a pathway for leaves and debris to collect on the coils.
Step 3: Remove the Protective Cage or Top Panel
Using a screwdriver or nut driver, remove the bolts securing the protective grille or top panel.
- If the fan is mounted on the top panel: Carefully lift the panel and set it aside without disconnecting the fan wires. Let it rest gently to the side, supporting the weight so the wires are not strained.
- If the fan is mounted separately: Remove the outer cage panels to fully expose the condenser coils.
Take care not to remove bolts that secure the fan motor to its mount, only the bolts that attach the cage or grille to the unit frame.
Step 4: Remove Loose Debris from Inside the Unit
Using work gloves, remove any large debris that has accumulated inside the unit, such as leaves, sticks, seed pods, or dead insects.
Use a soft brush or shop vacuum with a brush attachment to gently clean the interior surfaces. Be careful not to touch or damage the compressor, refrigerant lines, or electrical connections.
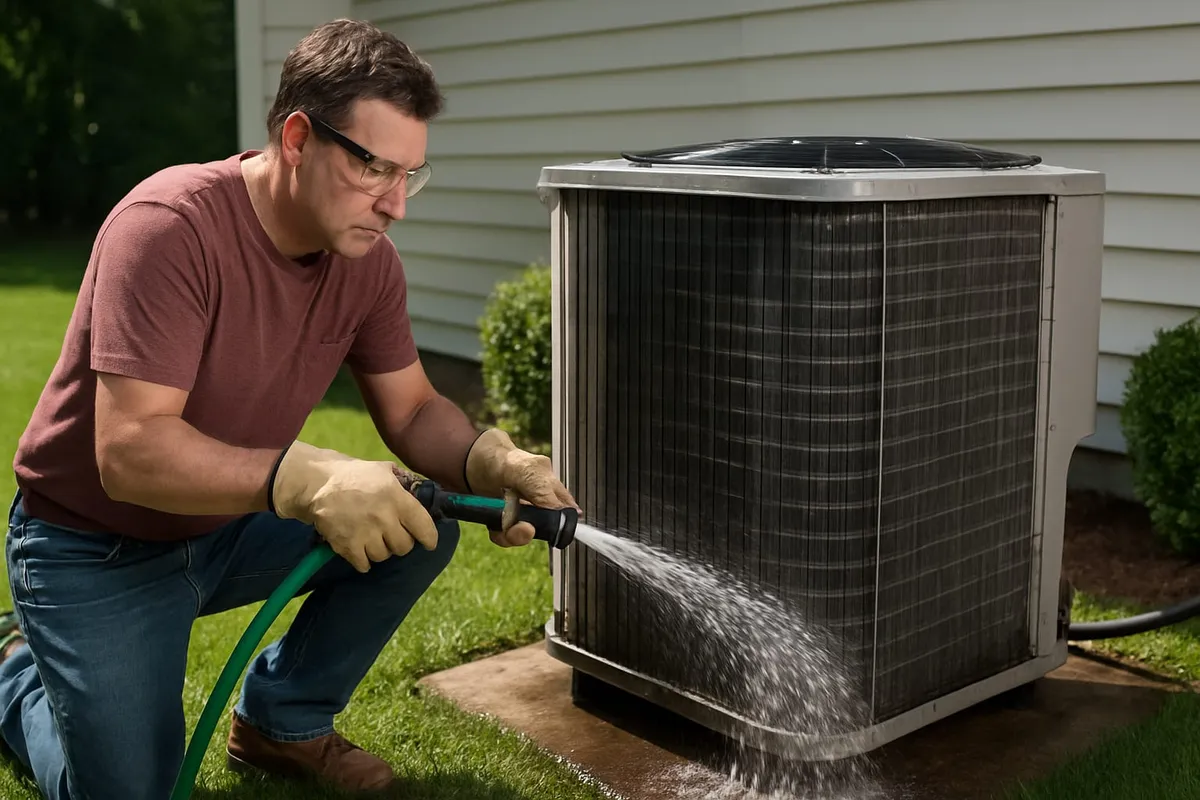
Step 5: Clean the Condenser Coils
This is the most important step. The condenser coils are the thin aluminum fins that wrap around the outside of the unit.
Using a Commercial Foaming Coil Cleaner:
- Follow the product directions for dilution ratio (typically 1 part cleaner to 3 parts water).
- Spray the cleaner generously onto the coils from the outside, working from top to bottom.
- Allow the foam to sit for 5 to 10 minutes (or as directed) to loosen dirt and debris.
- Rinse thoroughly with a garden hose.
Using a Hose Only:
- Spray the coils from the inside of the unit outward. This pushes debris out in the direction it came in, rather than pushing it deeper into the fins.
- Use a steady, moderate spray. Work systematically from top to bottom.
- Continue rinsing until the water runs clear through the fins.
Using Mild Soap and Water:
- Mix a few drops of mild dish soap in a spray bottle with water.
- Spray the solution onto the coils and let it sit for 5 minutes.
- Rinse thoroughly from the inside out with a garden hose.
Critical Warning: Never use a pressure washer on condenser coils. High-pressure water bends and damages the delicate aluminum fins, which restricts airflow and reduces efficiency. A standard garden hose provides sufficient pressure.
Step 6: Straighten Bent Fins
Inspect the condenser fins for areas where they are bent or flattened. Bent fins block airflow and reduce the coil’s ability to dissipate heat.
Use a fin comb (available at hardware stores for $5 to $15) to gently straighten bent areas. Insert the comb at the correct fin spacing and carefully comb through the damaged section. Work slowly to avoid bending additional fins.
Minor fin damage is cosmetic, but large areas of bent fins should be corrected for optimal performance.
Step 7: Reassemble and Restore Power
- Replace the protective cage panels and top cover. Secure all bolts firmly.
- Confirm that no tools, rags, or debris are left inside the unit.
- Restore power at the disconnect box and circuit breaker.
- Turn the system on at the thermostat and let it run for a few minutes.
- Verify that the fan is spinning and air is flowing out the top of the unit.
- Check that the unit is running smoothly without unusual sounds.
Safety Warnings
- Always disconnect all power sources before working on the condenser unit. The fan blade can cause serious injury if it starts while you are working inside the unit.
- Wear safety glasses when cleaning coils, as debris and cleaning solution can spray back.
- Wear work gloves to protect your hands from sharp fin edges.
- Never bend or damage the refrigerant lines (the copper tubes running to and from the unit). Refrigerant is under high pressure and can cause frostbite or other injuries.
- Do not spray water directly on electrical components inside the disconnect box or on exposed wiring inside the unit.
- If you see oil stains around the unit or on the coils, this may indicate a refrigerant leak. Do not attempt to repair refrigerant leaks yourself. Call a licensed HVAC technician.
When to Call a Professional
Clean the condenser yourself if you are comfortable with the steps above, but call a professional for:
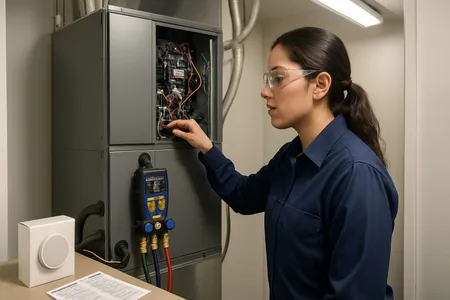
- Deep cleaning of the evaporator coil (the indoor coil), which requires removing access panels and working near electrical components
- Refrigerant level checks or suspected refrigerant leaks
- Electrical issues, such as the fan not running or the unit tripping the breaker
- Severe fin damage covering large areas of the coil
- Annual system tune-up, which includes a comprehensive inspection beyond just coil cleaning
A professional tune-up typically costs $75 to $200 and includes coil cleaning plus a full system inspection. Schedule service through our maintenance page.
How Often Should You Clean Your AC Condenser?
- Light cleaning (debris removal and quick rinse): Every 1 to 2 months during cooling season
- Thorough cleaning (with coil cleaner and fin combing): Once per year, ideally in spring before peak cooling season
- Professional deep cleaning: As part of your annual HVAC maintenance visit
Homes near trees, in dusty areas, or with pets that shed near the outdoor unit may need more frequent cleaning.
Related Maintenance Tips
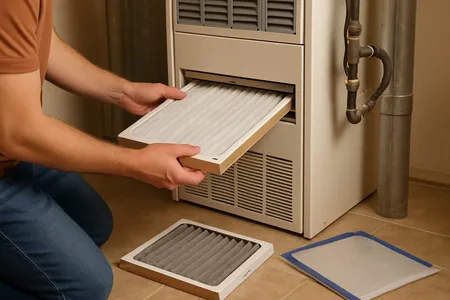
- Change your air filter regularly to reduce the load on both indoor and outdoor coils. See our furnace filter guide.
- Prepare your AC for summer with our complete spring maintenance checklist.
- Track your maintenance schedule with our Maintenance Checklist Tool.
- Learn how long your AC should last and how maintenance affects lifespan in our AC lifespan guide.
Frequently Asked Questions
Can I use bleach to clean condenser coils?
No. Bleach is corrosive to aluminum and can damage the coil fins and joints. Use a commercial foaming coil cleaner or mild dish soap and water. Bleach is better suited for cleaning the condensate drain line, not the coils.
How do I know if my condenser coils are dirty?
Look through the fins from the outside. If you can see dirt buildup, matted debris, or discoloration on the fins, they need cleaning. You can also check your energy bills; a sudden increase in cooling costs often indicates dirty coils.
Will cleaning my condenser lower my electric bill?
Yes. The Department of Energy estimates that dirty condenser coils can increase energy consumption by 5 to 25 percent. Regular cleaning helps maintain the system’s rated efficiency.
Can I cover my condenser unit in winter?
It is generally not recommended to fully cover your condenser. Covers can trap moisture inside the unit, promoting rust and corrosion. If you want protection from falling debris, place a piece of plywood on top secured with a brick, but leave the sides open for ventilation.
Want a professional condenser cleaning and full system tune-up? Visit our maintenance page to schedule service. In Central Texas? Texas Temp Masters provides comprehensive AC maintenance to keep your system running efficiently. Call (817) 704-0706 to book your appointment.
Next Steps
Keep the momentum going with these related resources:
- Estimate your energy savings — Use our Energy Cost Calculator to see how much clean coils and regular maintenance can save on your monthly bill.
- Prep the rest of your system — Condenser cleaning is just one step. Our spring AC prep checklist covers everything else you should do before summer hits.
- Still not cooling well? — If your AC is blowing warm air even after cleaning, check our guide on AC not blowing cold air for other causes.
- Track your maintenance — Use our Maintenance Checklist Tool to stay on schedule with filter changes, coil cleanings, and tune-ups.
- Ready to talk? — Contact us for a free evaluation.