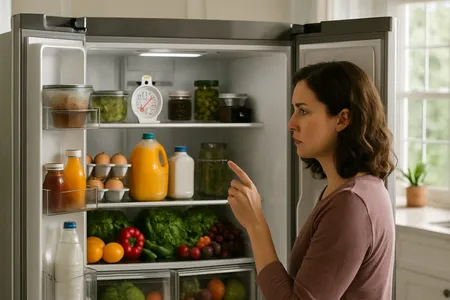
You reach into the freezer for ice and find an empty bin. An ice maker that suddenly stops producing ice is a frustrating problem, especially during warm weather when you need it most. The good news is that ice maker issues are often caused by simple problems you can diagnose and fix yourself — a turned-off switch, a frozen water line, or an old water filter that needs replacing. This complete troubleshooting guide walks you through every common cause of an ice maker not making ice, from the quickest fixes to problems that need a professional. Whether you have a built-in refrigerator ice maker, a standalone ice machine, or a countertop unit, this guide will help you get ice production back on track.
Quick Fix Checklist
These basic checks resolve the problem in many cases and take just a few minutes:
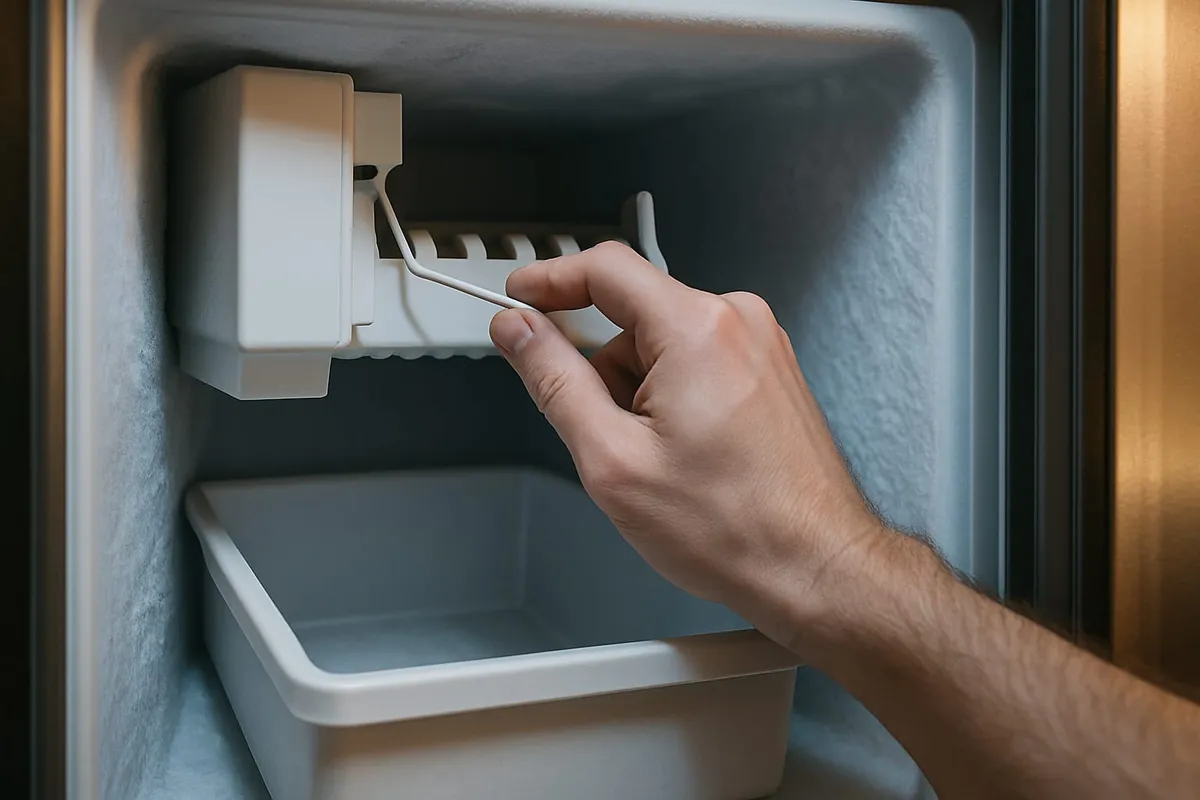
- Verify the ice maker is turned on — Look for a power switch, on/off slider, or wire arm on the ice maker. If the wire arm is in the raised position, the ice maker is off. Push it down to the “On” position.
- Check the freezer temperature — The freezer should be set to 0 degrees Fahrenheit (-18 degrees Celsius). Ice production stops if the freezer temperature is above 5 degrees Fahrenheit. Use a thermometer to verify.
- Inspect the water supply line — Pull the refrigerator away from the wall and check that the water supply line (a small copper, braided steel, or plastic tube) is connected and not kinked.
- Check the water shutoff valve — Follow the water supply line to the wall valve (usually under the sink or behind the refrigerator). Make sure the valve is fully open.
- Check the water filter — If your refrigerator has a water filter, check when it was last replaced. A clogged filter restricts water flow to the ice maker. Most filters need replacement every 6 months.
1. Ice Maker Switched Off or Paused
What It Is and Why It Happens
The most common reason an ice maker stops producing ice is that it was accidentally turned off. Ice makers have a power control that can be a simple wire arm (also called a feeler arm or bail arm), a toggle switch, or a digital control on the refrigerator display panel. The wire arm is especially easy to bump accidentally when reaching into the freezer. When the arm is raised or the switch is off, the ice maker will not cycle.
How to Check
Open the freezer and locate the ice maker. Look for:
- A wire arm on the side of the ice maker unit. If it is in the raised (up) position, the ice maker is off.
- A toggle switch on the ice maker or on the refrigerator’s interior wall near the ice maker.
- A digital control on the exterior display panel or in the refrigerator’s settings menu.
How to Fix
Lower the wire arm to the down (on) position, flip the toggle switch to “On,” or enable ice production through the digital controls. After turning the ice maker on, allow 24 hours for the first batch of ice to be produced. A working ice maker typically produces 8 to 10 cubes per cycle, with a full cycle taking approximately 90 minutes to 2 hours.
Estimated cost: Free (DIY fix).
2. Freezer Temperature Too Warm
What It Is and Why It Happens
Ice makers require the freezer to be at or below 5 degrees Fahrenheit to produce ice, with the optimal temperature being 0 degrees Fahrenheit. If the freezer is too warm, the water in the ice mold will not freeze completely, and the ice maker will not cycle (it has a thermostat that waits until ice is fully frozen before ejecting cubes and refilling). A warm freezer can be caused by incorrect temperature settings, a door left ajar, overloading the freezer, dirty condenser coils, or a failing defrost system.
How to Check
Place a freezer thermometer in the center of the freezer (not against a wall) and wait 2 hours for an accurate reading. The temperature should be 0 degrees Fahrenheit or below. If it is above 5 degrees Fahrenheit, the ice maker cannot function.
How to Fix
Adjust the freezer temperature control to 0 degrees Fahrenheit. Allow 24 hours for the temperature to stabilize. If the freezer cannot maintain the correct temperature:
- Check that the door seals properly (no gaps or damage to the gasket).
- Do not overfill the freezer — air needs to circulate.
- Make sure the condenser coils are clean (see our refrigerator troubleshooting guide for coil cleaning instructions).
- If the temperature remains too warm despite these steps, there may be a cooling system problem that requires professional diagnosis.
Estimated cost: Free for adjusting settings. Freezer repair costs $150 to $500 if there is a mechanical issue.
3. Clogged or Expired Water Filter
What It Is and Why It Happens
Most modern refrigerators with water dispensers and ice makers have a built-in water filter that removes contaminants from the water supply. Over time (typically 6 months, or sooner in areas with hard water or high sediment), the filter becomes clogged with the particles it has trapped. A clogged filter restricts water flow to the ice maker, resulting in small, thin, or hollow ice cubes, slow ice production, or no ice production at all. Some refrigerators will display a “Replace Filter” indicator light.
How to Check
Locate the water filter in your refrigerator (common locations include inside the refrigerator compartment, in the base grille, or in the back upper-right corner). Check the replacement date if you wrote it on the filter or in your records. If the filter indicator light is on, or if it has been more than 6 months since the last replacement, the filter is likely overdue.
How to Fix
Replace the water filter with the correct filter for your refrigerator model. Filters cost $15 to $50 depending on the brand. After installing the new filter:
- Run 2 to 3 gallons of water through the dispenser to flush the new filter and clear any carbon particles.
- Discard the first one or two batches of ice, as they may contain filter debris or have off-flavors.
- Set a reminder to replace the filter again in 6 months.
Estimated cost: $15 to $50 for a replacement filter (DIY fix).
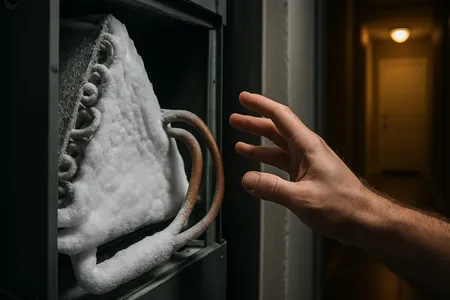
4. Frozen Water Supply Line
What It Is and Why It Happens
The water supply line that feeds the ice maker runs from the water inlet valve (at the bottom rear of the refrigerator) up to the ice maker in the freezer. In some refrigerator designs, part of this line passes through the freezer compartment or freezer wall, where it can freeze solid if the freezer temperature is set too low, if the water line is positioned against the freezer wall, or if there is a defrost system problem. A frozen supply line completely blocks water from reaching the ice maker.
How to Check
If the ice maker cycles (you hear it trying to eject ice and refill) but no water enters the mold, a frozen water line is a strong possibility. You may also notice that the water dispenser works fine (its line does not pass through the freezer) but the ice maker does not.
How to Fix
- Turn off the ice maker.
- If accessible, use a hair dryer on low heat to gently warm the visible portion of the water line. Do not use high heat, which can melt plastic components.
- If the frozen section is not accessible, unplug the refrigerator and leave the freezer door open for several hours to allow the line to thaw naturally.
- After thawing, turn the ice maker back on and verify water fills the mold.
- If the line was set too cold, raise the freezer temperature slightly (aim for 0 degrees Fahrenheit rather than -5 or lower).
If the water line freezes repeatedly, call a professional to evaluate the line routing and freezer temperature control.
Estimated cost: Free (DIY fix). Professional water line rerouting or replacement costs $100 to $250.
5. Faulty Water Inlet Valve
What It Is and Why It Happens
The water inlet valve is an electrically controlled mechanical valve located at the bottom rear of the refrigerator (where the household water supply line connects). When the ice maker calls for water, the inlet valve opens for a few seconds to fill the ice mold, then closes. If the valve is defective — the solenoid coil has failed, the valve is clogged with mineral deposits, or the internal mechanism is stuck closed — water cannot flow to the ice maker. The water inlet valve requires a minimum of 20 psi water pressure to operate properly. Low household water pressure can mimic a valve failure.
How to Check
Listen carefully when the ice maker cycles. You should hear a brief buzzing or humming sound as the water valve opens to fill the mold (this typically happens about 15 seconds after the ice maker ejects the previous batch). If you hear no sound, the valve may not be receiving the electrical signal, or the solenoid may have failed. If you hear the valve buzz but no water flows, the valve may be clogged or household water pressure may be too low.
To check water pressure, disconnect the water supply line from the inlet valve (place a towel under the connection to catch water), hold the line over a bucket, and briefly open the shutoff valve. The water should flow strongly. If it barely trickles, household water pressure is too low.
How to Fix
For low water pressure: Check that the shutoff valve is fully open. If water pressure throughout the home is low, contact your water utility company or have a plumber check for issues.
For a failed or clogged inlet valve: Call a professional. The water inlet valve is an electrical component connected to both the water supply and the refrigerator’s control system. Replacement involves disconnecting the water line and electrical connections. A replacement valve costs $30 to $80 for the part.
Estimated cost: Professional water inlet valve replacement costs $150 to $350 including parts and labor.
6. Ice Jam in the Ejector Mechanism
What It Is and Why It Happens
The ice maker has an ejector mechanism that uses rotating fingers or a motorized arm to push completed ice cubes out of the mold and into the ice bin below. Sometimes, cubes do not fully release from the mold, causing a jam. Other times, ice cubes in the bin fuse together (especially during power outages or when the freezer door is left open, causing partial thawing and refreezing), blocking the ejector from depositing new cubes. When the ejector cannot clear the mold, the ice maker stops cycling.
How to Check
Remove the ice bin and inspect the ice maker’s ejector area. Look for:
- Ice cubes stuck in the mold (partially formed or stuck to the mold surface)
- Clumped or fused ice cubes in the bin that are pressing up against the ejector arms
- Ice buildup around the ejector fingers or the fill tube
How to Fix
- Remove the ice bin.
- Carefully remove any stuck ice cubes from the mold using a plastic utensil (not metal, which can damage the mold coating). You can pour a small amount of warm water over the mold to loosen stuck cubes.
- Break apart any clumped ice in the bin and remove ice chunks that may have blocked the ejector.
- Clear any ice buildup around the fill tube (the small tube that delivers water to the mold).
- Replace the bin and allow the ice maker to cycle.
If jams are a recurring problem, check that the freezer temperature is at 0 degrees Fahrenheit (too cold can cause cubes to stick) and that the ice bin is properly positioned under the ejector.
Estimated cost: Free (DIY fix).
7. Failed Ice Maker Module or Motor
What It Is and Why It Happens
The ice maker module is the mechanical and electrical assembly that controls the entire ice-making cycle: filling the mold with water, waiting for the water to freeze, heating the mold slightly to release the cubes, and activating the ejector to push cubes into the bin. If the motor, thermostat, or control heater within the module fails, the cycle stops. Ice maker modules typically last 5 to 10 years.
How to Check
If you have checked the water supply, freezer temperature, filter, and ejector area with no obvious problems, the ice maker module itself may have failed. Some refrigerators display a diagnostic code on the control panel. You can also try a manual reset: locate the reset button on the ice maker (it may be a small button on the underside or front of the unit) and press it. If the ice maker does not begin a cycle within a few minutes of resetting, the module may be faulty.
Alternatively, unplug the refrigerator for 5 minutes and plug it back in. This reboots the electronic control board and can sometimes restore ice maker function if a software glitch was the issue.
How to Fix
Call a professional for ice maker module replacement. While the ice maker module itself can sometimes be replaced by a handy homeowner (it typically mounts with a few screws and a wiring harness), diagnosing the exact failed component (motor, thermostat, or heater) within the module requires testing tools.
Estimated cost: Ice maker module replacement costs $150 to $350. A complete ice maker assembly replacement (the entire unit) costs $250 to $600 installed.
When to Call a Professional
Contact an appliance repair technician if:
- The water inlet valve needs replacement — This involves water and electrical connections that should be handled by a professional.
- The ice maker module has failed — Diagnosis and replacement of the internal mechanism requires specialized knowledge.
- The water line freezes repeatedly — The line may need to be rerouted or the refrigerator may have a defrost system issue.
- Ice production is low despite all checks being normal — There may be an issue with the refrigerator’s sealed cooling system affecting the freezer.
- You see water leaking from the ice maker area — This could indicate a cracked water line, a leaking inlet valve, or a cracked ice mold.
Visit our contact page or use our troubleshooter tool for help with your ice maker issue.
Prevention Tips
Keep your ice maker producing reliably with these practices:
- Replace the water filter every 6 months — This prevents clogs that reduce water flow and maintains ice quality and taste.
- Keep the freezer at 0 degrees Fahrenheit — Use a thermometer to verify. Too warm and ice production stops. Too cold and cubes stick to the mold.
- Empty and clean the ice bin monthly — Dump out old ice (it absorbs freezer odors over time), wash the bin with warm soapy water, dry completely, and replace.
- Use the ice regularly — If ice sits unused, cubes sublimate (shrink), fuse together, and can jam the ejector mechanism. If you will not use ice for an extended period, turn the ice maker off.
- Clean condenser coils every 6 to 12 months — Dirty coils make the entire refrigerator work harder, which can affect freezer temperature and ice production.
Frequently Asked Questions
Why did my ice maker suddenly stop making ice?
The most common sudden causes are an accidentally turned-off switch or raised wire arm, a clogged water filter that finally restricted flow enough to stop ice production, a frozen water supply line, or a tripped water inlet valve from a brief power interruption. Check the on/off switch and water filter first, as these are the most frequent and easiest to fix.
How long does it take for an ice maker to make ice after being turned on?
After being turned on or after a new installation, most ice makers take 24 hours to produce the first batch of ice. A full ice bin (typically 4 to 8 pounds, depending on the model) takes 2 to 3 days to fill. Each individual cycle (filling, freezing, ejecting) takes about 90 minutes to 2 hours. If your ice maker has not produced any ice after 24 hours, begin troubleshooting.
How do I reset my ice maker?
Most ice makers have a reset button — a small button located on the underside, front, or side of the unit. Press and hold it for 5 to 10 seconds. You should hear the ice maker begin its cycle (a humming sound followed by the ejector motor). If there is no reset button, unplug the refrigerator for 5 minutes and plug it back in to reboot the control board. Check your owner’s manual for model-specific reset instructions.
Why is my ice maker making small or hollow ice cubes?
Small, thin, or hollow ice cubes usually indicate restricted water flow. The most common cause is a clogged water filter that is overdue for replacement. Other causes include a partially closed water supply valve, low household water pressure (the water inlet valve requires at least 20 psi), or a partially frozen water supply line. Replace the filter first, then check the supply valve and water pressure.
How much does it cost to fix an ice maker?
Ice maker repairs typically cost between $100 and $350 depending on the issue. A water filter replacement is $15 to $50 (DIY). Clearing a frozen water line is free. Water inlet valve replacement costs $150 to $350 professionally. Ice maker module replacement costs $150 to $350. A complete ice maker unit replacement costs $250 to $600 installed. If your refrigerator is more than 10 years old and the repair approaches the cost of a new unit, consider replacement.
An ice maker that stops producing ice usually has a simple, fixable cause. Start with the basics — make sure it is turned on, the freezer is cold enough, and the water supply is connected. These items solve the problem in the majority of cases.
If you are in Central Texas, Texas Temp Masters offers same-day appliance repair, including ice maker service. Call (817) 704-0706 or contact us online to schedule your repair.
Next Steps
Get your ice maker back on track and protect your refrigerator investment:
- Should you repair or replace? — Use our Repair or Replace Calculator to see whether fixing the ice maker makes financial sense based on your refrigerator’s age and repair cost.
- Find out how old your fridge is — Our Appliance Age Decoder decodes the manufacture date from your serial number so you know where your unit stands in its lifespan.
- Stay ahead of maintenance — Our Maintenance Checklist tracks filter replacements, coil cleanings, and other tasks that keep ice makers and refrigerators running smoothly.
- Fridge not cooling either? — If the whole refrigerator is struggling, our refrigerator not cooling guide covers every common cause from dirty coils to compressor failure.
- Know your refrigerator’s full lifespan — Read how long does a refrigerator last for brand-by-brand data and repair vs. replace guidance.
- Ready to talk? — Contact us for a free evaluation.